
JB & JD Design · PNUADD
JB Tray — Just Border
The dental impression tray that replaces individual trays
Designed to complete both the final impression and jaw relation recording in a single streamlined procedure.
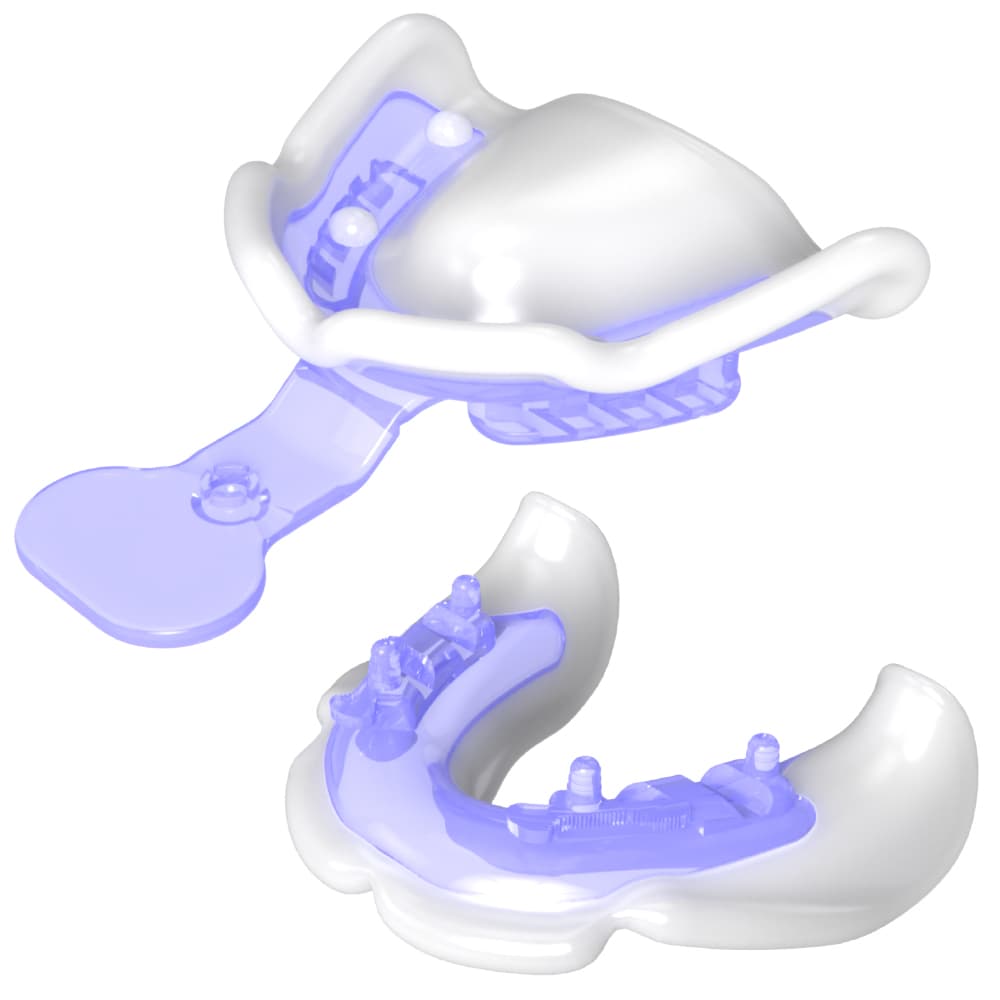
Key features
Complete the final impression and jaw relation recording simultaneously with a single tray.
One-step final impression & jaw relation
After tray alteration and border molding, take the final impression while simultaneously recording vertical dimension and centric relation. Eliminates individual trays and occlusal wax rims.
Fewer patient visits
Reduce visits from the conventional five to three — with a simplified workflow, as few as two visits in some cases.
Digital & analog solution
Compatible with traditional denture fabrication and digital workflows using intra-oral or model scanners. Supports two-visit digital denture production.
POP Bow system integration
When used with the POP Bow, occlusal plane, upper lip position, and maxillary anterior tooth location transfer accurately to the technician.
Package contents
Tray box: five upper + lower sets (no POP Bow). ADD POP Bow is sold separately as a pouch.
One box · 5 upper + lower sets
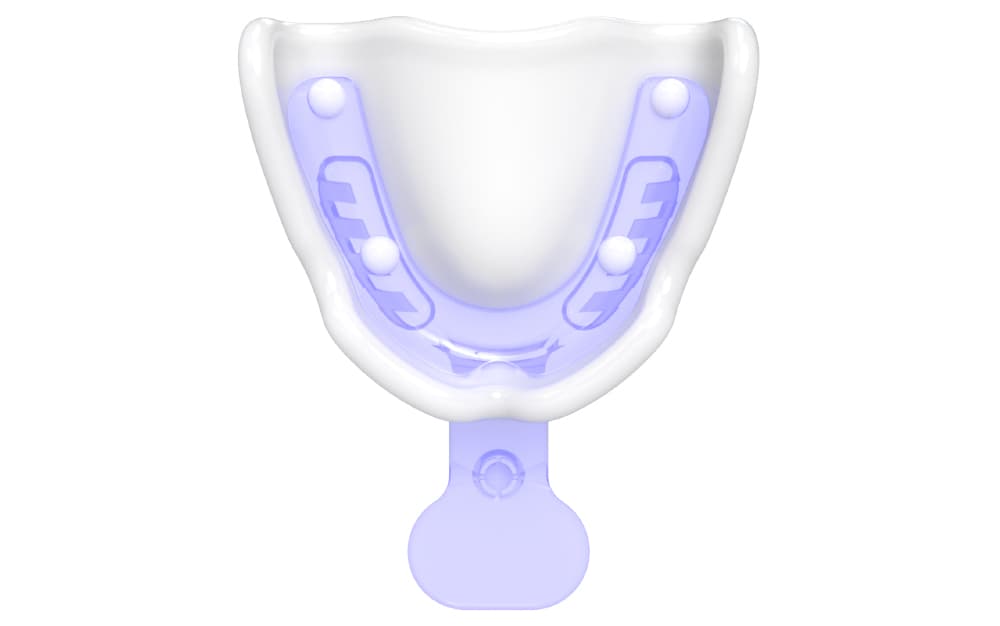
Upper & lower tray per set
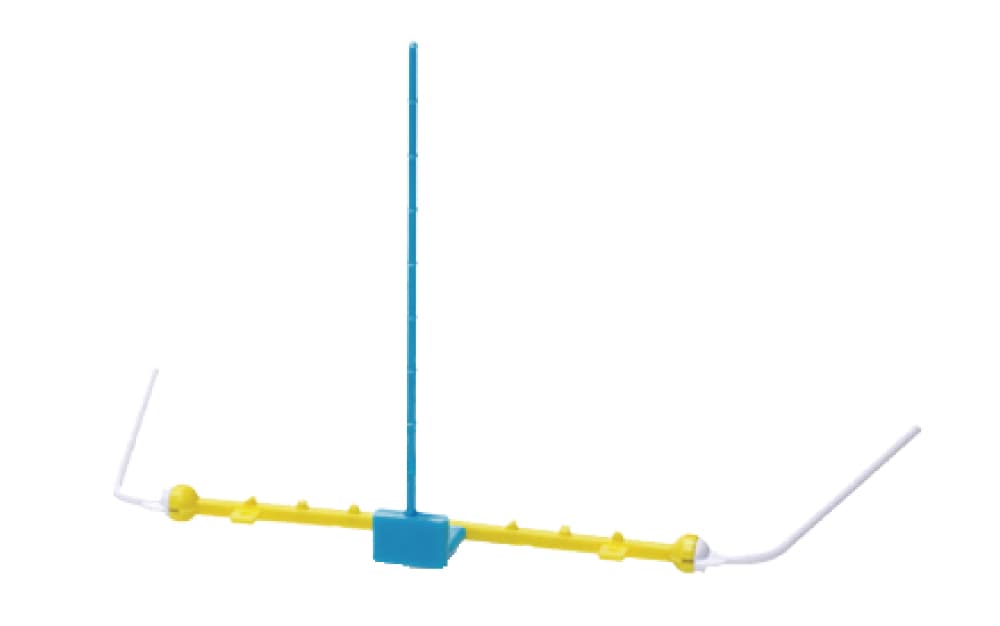
ADD POP Bow sold separately
Tray structure
Functionally segmented design enables border molding, impression taking, jaw relation recording, and POP Bow connection in one workflow.
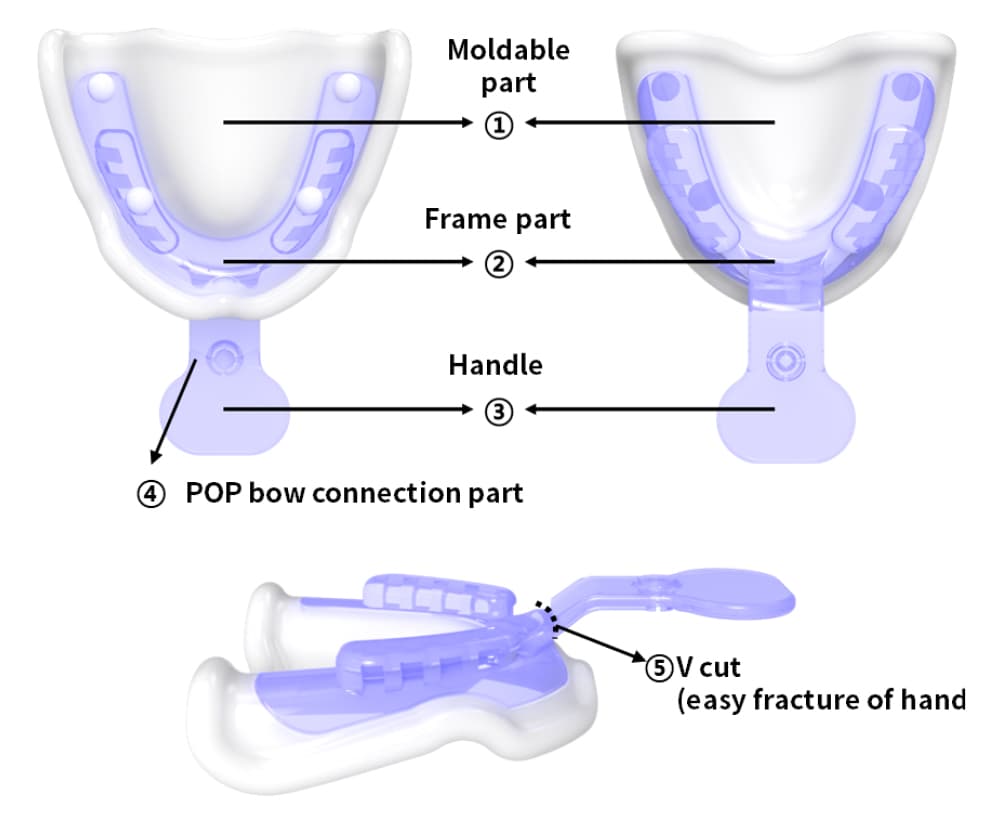
Maxillary tray
- ·Moldable part — thermoplastic section
- ·Frame — rigid structural frame
- ·Handle — tray handle
- ·POP Bow connection — attachment point for POP Bow
- ·V-cut — pre-scored line for handle removal
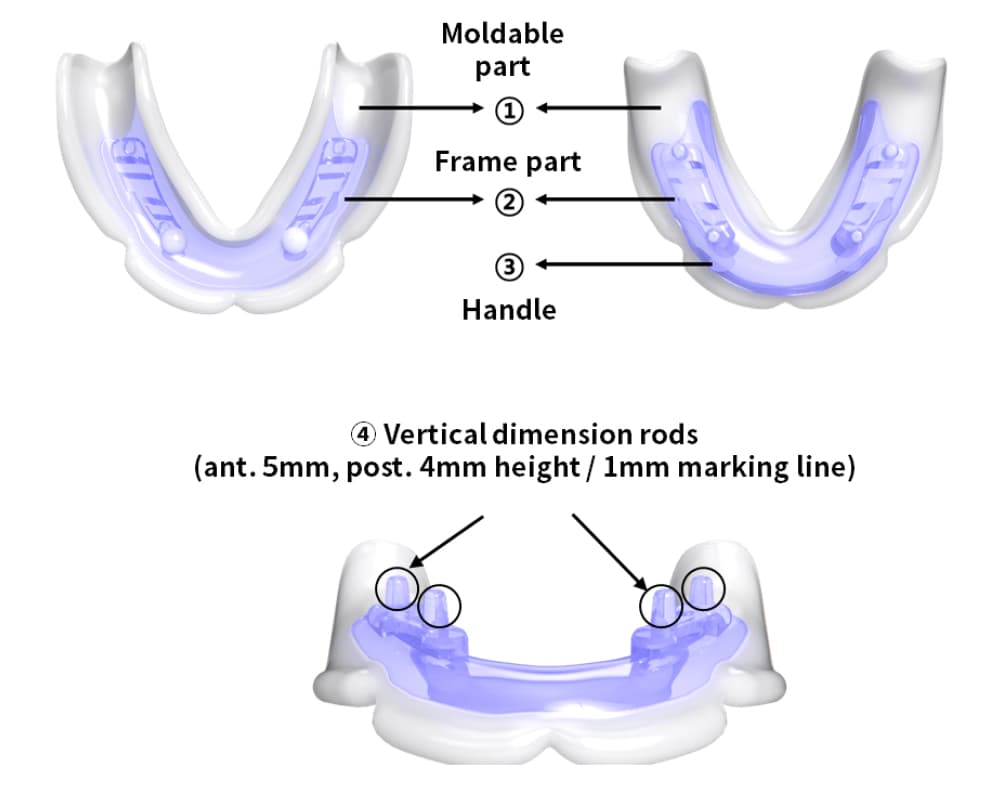
Mandibular tray
- ·Moldable part — thermoplastic section
- ·Frame — rigid structural frame
- ·Handle — tray handle
- ·VD rods — anterior 5 mm / posterior 4 mm, 1 mm graduations
Maxillary application
Tray softening, border molding, and final impression for the maxilla.
- 1
Tray softening
Soften in warm water at 70–75°C for about 1 minute until the moldable section is pliable.
- 2
Border molding & shaping
Working time over 2 minutes; repeat softening if needed for precise adaptation to the patient’s oral anatomy.
- 3
Tray adhesive & impression
Apply adhesive and impression material for the final maxillary impression.
Tip: The POP Bow can attach to the tray handle. Remove the handle if both jaws are taken at once — this allows free lip movement and easier facial feature evaluation.
Mandibular application
From tray softening through vertical dimension and centric relation recording.
- 1
Tray softening
70–75°C for approximately 1 minute.
- 2
Border molding & shaping
Repeat as needed for accurate adaptation to the mandibular anatomy.
- 3
Vertical dimension
Adjust VD rods using 1 mm graduations (anterior 5 mm / posterior 4 mm).
- 4
Tray adhesive & impression
Closed-mouth impression technique with tray adhesive and impression material.
- 5
Centric relation
Record centric relation with silicone bite registration or wax.
Tip: In rest position, attach the POP Bow to the lower border of the upper lip to transfer occlusal plane, upper lip position, and anterior teeth location to the technician.
Clinical outcomes
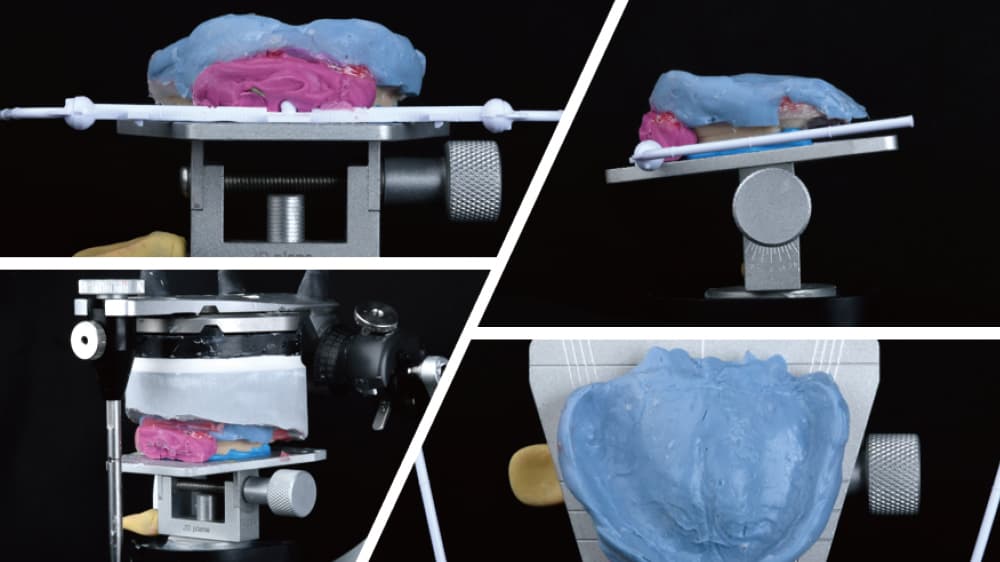
Articulator mounting based on POP Bow plane
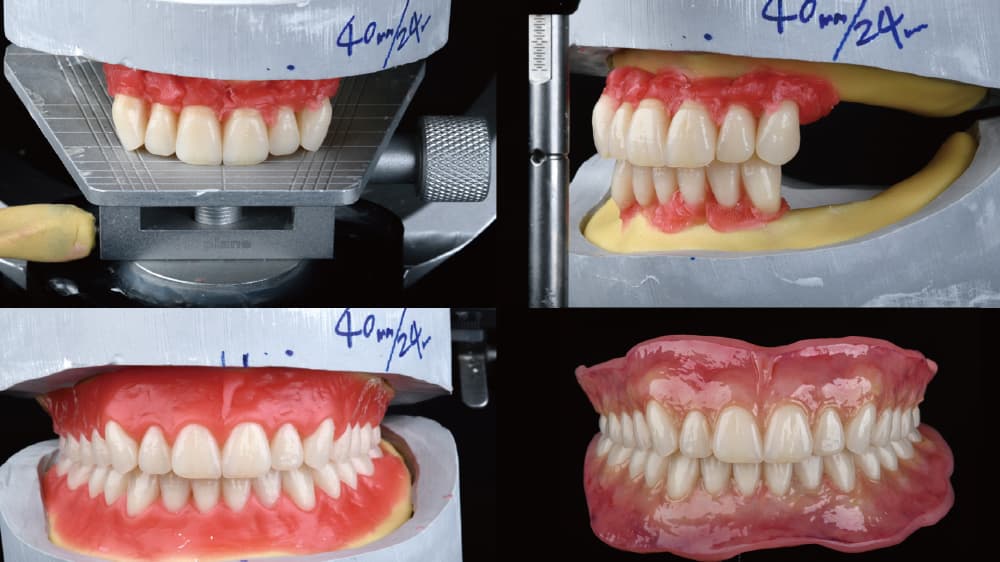
Artificial teeth arrangement & denture fabrication
Instructional videos
Watch the JB Tray in action with step-by-step demonstration videos.
JB Tray Manual
Step-by-step chairside demonstration of the JB Tray protocol.
JB Tray — Dental Laboratory
Laboratory workflow from JB Tray records to denture fabrication.
Ready to use JB Tray with PrintDenture?
Order kits from our shop, take chairside records, then upload scans. A printed try-in is included before final delivery.
PNUADD Co., Ltd. (JB & JD Design). Clinical content adapted from the official JB & JD Design guide. JB Tray is a product of PNUADD. PrintDenture is an independent California lab — order kits through PrintDenture or send cases after chairside records.